引言
在Java开发中,Spring是其重要的组成部分,以至于大家都调侃Java程序猿==Spring程序员。Spring其重要性,不言而喻。但是,Spring框架及其复杂,以至于阅读源码的过程让人头脑发昏。笔者就曾试过阅读其源码,但是其复杂的调用栈让我直接CPU过载。
于是,此系列文章应运而生,使用简单的方式来手写一个Spring框架,让大家更加容易的阅读源码。
本文所有的代码都在这个项目工程里,大家需要的时候可以随时取用。传送门
创建项目
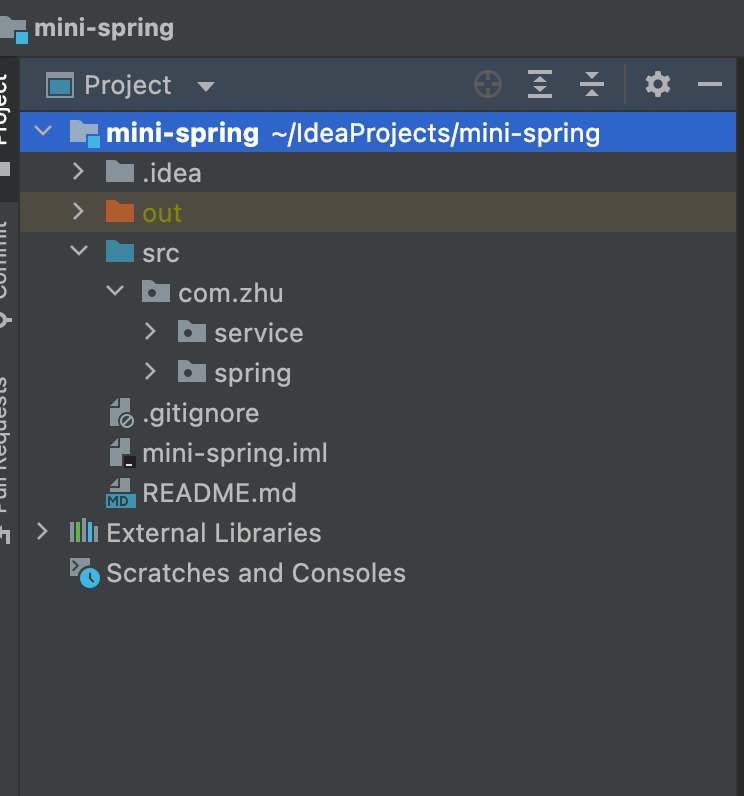
如图,我们创建一个Java项目,并创建两个包,一个用于写框架代码,一个用于写测试代码:
代码实现
我们知道,Spring加载bean的方式有两种,一种是xml的方式,另一种是annotation的方式,本项目选择第二种方式。
ok,我们正式开始。
创建两个注解
@Component和@ComponentScan,这两个注解作用:@Component标记是一个组件类,@ComponentScan表示开启类自动扫描。package com.zhu.spring; import java.lang.annotation.ElementType; import java.lang.annotation.Retention; import java.lang.annotation.RetentionPolicy; import java.lang.annotation.Target; @Target(ElementType.TYPE) @Retention(RetentionPolicy.RUNTIME) public @interface Component { //表示组件名称 String value() default ""; } package com.zhu.spring; import java.lang.annotation.ElementType; import java.lang.annotation.Retention; import java.lang.annotation.RetentionPolicy; import java.lang.annotation.Target; @Target(ElementType.TYPE) @Retention(RetentionPolicy.RUNTIME) public @interface ComponentScan { //表示要扫描的路径,eg:com.zhu.service String value() default ""; }我们需要模仿spring的applicationContext创建一个我们自己的context类,我称之为:
MiniSpringApplicationContext,这个类的主要目的就是为了加载Bean,以及获取Bean,具体可以看下面代码:package com.zhu.spring; import java.io.File; import java.net.URL; public class MiniSpringApplicationContext { private Class configClass; public MiniSpringApplicationContext(Class configClass) { this.configClass = configClass; //扫描所有被ComponentScan注解修饰的类 if(configClass.isAnnotationPresent(ComponentScan.class)){ ComponentScan componentScanAnnotation = (ComponentScan) configClass.getAnnotation(ComponentScan.class); //获取ComponentScan注解里面设置的路径scan path, eg: com.zhu.service String path = componentScanAnnotation.value(); //将包名转换成文件路径 // com.zhu.service ----> com/zhu/service path = path.replace(".", "/"); //find absolute path from MiniSpringApplicationContext context //找到MiniSpringApplicationContext类加载器,因为我们要找的class文件在类路径下,所以需要从已经加载好的类中找类路径 ClassLoader classLoader = MiniSpringApplicationContext.class.getClassLoader(); // 获取到类路径的绝对路径,我这里是mac下面的路径,window下面分隔符有可能不一样 // get url , /Users/knight/IdeaProjects/mini-spring/out/production/mini-spring/com/zhu/service URL resource = classLoader.getResource(path); File file = new File(resource.getFile()); System.out.println(file); if(file.isDirectory()){ //找到这个绝对路径下所有的文件 File[] files = file.listFiles(); for (File f : files) { //找到没一个文件的绝对路径,后面需要 String absolutePath = f.getAbsolutePath(); System.out.println(absolutePath); //判断是否属于.class文件 if(absolutePath.endsWith(".class")){ //real load class // /Users/knight/IdeaProjects/mini-spring/out/production/mini-spring/com/zhu/service/UserService ---> com.zhu.service.UserService //com/zhu/service/UserService String className = absolutePath.substring(absolutePath.indexOf("com"), absolutePath.indexOf(".class")); //com.zhu.service.UserService className = className.replace("/", "."); System.out.println(className); //上面的步骤,主要是为了找到要加载类的类路径,方便后面使用 try { //通过类加载器加载,需要传入类路径,eg:com.zhu.service.UserService这样的 Class<?> aClass = classLoader.loadClass(className); if(aClass.isAnnotationPresent(Component.class)){ //找到标注了Component注解的类,也就是我们需要的bean System.out.println("bean is " + aClass.getName()); } } catch (ClassNotFoundException e) { e.printStackTrace(); } } } } } } public Object getBean(String beanName){ return null; } }目前为止,我们实现了加载我们的Bean的代码,让我们测试一下。
在我们的service包下,创建如下代码,来进行一个验证:
package com.zhu.service;
import com.zhu.spring.ComponentScan;

//这里表示需要扫描的包路径
@ComponentScan("com.zhu.service")
public class AppConfig {
}

//分割线
package com.zhu.service;
import com.zhu.spring.Component;

//这里表示Bean的名称
@Component("userService")
public class UserService {
}

//分割线
package com.zhu.service;
import com.zhu.spring.MiniSpringApplicationContext;

public class Test {
    public static void main(String[] args) {
        MiniSpringApplicationContext miniSpringApplicationContext = new MiniSpringApplicationContext(AppConfig.class);
        //test
        UserService userService = (UserService) miniSpringApplicationContext.getBean("userService");
    }
}
执行之后,我们可以看出确实通过AppConfig类,找到了我们需要扫描的包
com.zhu.servive,然后在这个包下我们发现了用Component注解标识的UserService类,然后将这个类作为我们的bean。
ok,到这里我们的第一步就简单实现了。回顾一下,我们自定义了两个注解@Component和@ComponenetScan,并在我们自己定以ApplicationContext中实现了他们的作用,即通过@ComponentScan中定义的包路径xxx.xxx.xxx,去寻找在这个路径下所有标记@Component的类,并将其加载,作为我们的bean。